Easy Japanese Tuna Onigiri Quick Recipe
15-min. Easy Japanese Tuna Onigiri are a true weeknight wonder! Are you craving something satisfying, healthy, and incredibly quick to prepare? Look no further than these delightful rice balls. We all love onigiri for its portability and comforting nature, but the classic tuna mayo filling is particularly beloved for its creamy, savory flavor that perfectly complements the slightly sticky Japanese rice. What truly makes this 15-min. Easy Japanese Tuna Onigiri recipe so special is its sheer simplicity and speed. In just fifteen minutes, you can transform pantry staples into a delicious and wholesome meal or snack that feels both authentic and incredibly easy to master. Forget complicated techniques; this recipe is designed for busy lives and hungry tummies, proving that delicious, authentic Japanese food can be yours in a flash. Get ready to impress yourself and anyone lucky enough to share these with you!
15-Minute Easy Japanese Tuna Onigiri
Looking for a quick, satisfying, and absolutely delicious snack or light meal? These 15-minute Japanese Tuna Onigiri are your answer! Onigiri, or Japanese rice balls, are a staple of Japanese cuisine, perfect for lunchboxes, picnics, or simply when you need a tasty bite. This recipe uses readily available ingredients and comes together in a flash, making it ideal for busy weeknights or rushed mornings. The creamy, savory tuna filling encased in perfectly seasoned rice is truly irresistible. Let’s get started on creating these little flavor bombs!
Ingredients:
Preparing the Tuna Filling
The heart of our onigiri lies in the flavorful filling. For this recipe, we’re using canned tuna, which is incredibly convenient. If you’re using tuna packed in oil, it will lend a richer flavor and a smoother texture to your filling. However, tuna packed in water works perfectly fine too; you’ll just want to drain it very well to avoid a watery filling.
1. Drain and flake the tuna: Open your can of tuna and drain off all the liquid. For tuna in oil, tilt the can and press the lid down gently to squeeze out as much oil as possible. For tuna in water, drain thoroughly. Once drained, transfer the tuna to a small bowl. Use a fork to flake the tuna into smaller pieces, ensuring there are no large chunks. This will help distribute the tuna evenly throughout the rice.
2. Mix with mayonnaise: Add the Japanese mayonnaise to the flaked tuna. Japanese mayonnaise, like Kewpie, has a slightly richer and tangier flavor than Western-style mayonnaise, which I find makes it ideal for onigiri. However, if you don’t have Japanese mayo, regular mayonnaise will work wonderfully. Mix the tuna and mayonnaise together until everything is well combined and has a creamy consistency. You want the mixture to be moist but not overly wet. This creamy tuna mixture is what will give your onigiri that delightful savory kick.
Assembling the Onigiri
Now comes the fun part: shaping our delicious rice balls! The key to perfect onigiri is to work with warm, but not piping hot, rice. This makes it pliable and easier to shape, and also helps the salt dissolve beautifully.
Cooking Phase 1: Seasoning the Rice
3. Season the rice: If your rice is still warm, that’s perfect. If it has cooled down, you can briefly warm it up in the microwave for about 30 seconds to a minute. Transfer the cooked short-grain rice to a medium-sized bowl. Sprinkle the 1/2 teaspoon of salt evenly over the rice. Gently mix the salt into the rice using a spatula or rice paddle. Be careful not to mash the rice; you want to keep the grains intact. The salt is crucial for flavor, so don’t skip this step! It seasons the rice from within, making every bite delicious.
Cooking Phase 2: Shaping the Onigiri
4. Forming the rice ball and adding filling: Wet your hands slightly with water. This prevents the rice from sticking to your hands. Scoop about 1/4 cup of the seasoned rice into your palm. Make a slight indentation in the center of the rice with your finger. Spoon about 1 tablespoon of the tuna-mayo mixture into the indentation. Now, gently bring the edges of the rice up and around the filling, enclosing it completely. Cup your hands and gently roll and press the rice into a compact ball or triangle shape. Don’t press too hard, as you don’t want to compact the rice too much, but ensure the filling is well-senon-alcoholic aled inside. Repeat this process with the remaining rice and tuna filling. You should be able to make about 2 to 3 onigiri with this amount of rice, depending on the size you prefer.
Cooking Phase 3: Wrapping with Nori and Garnishing
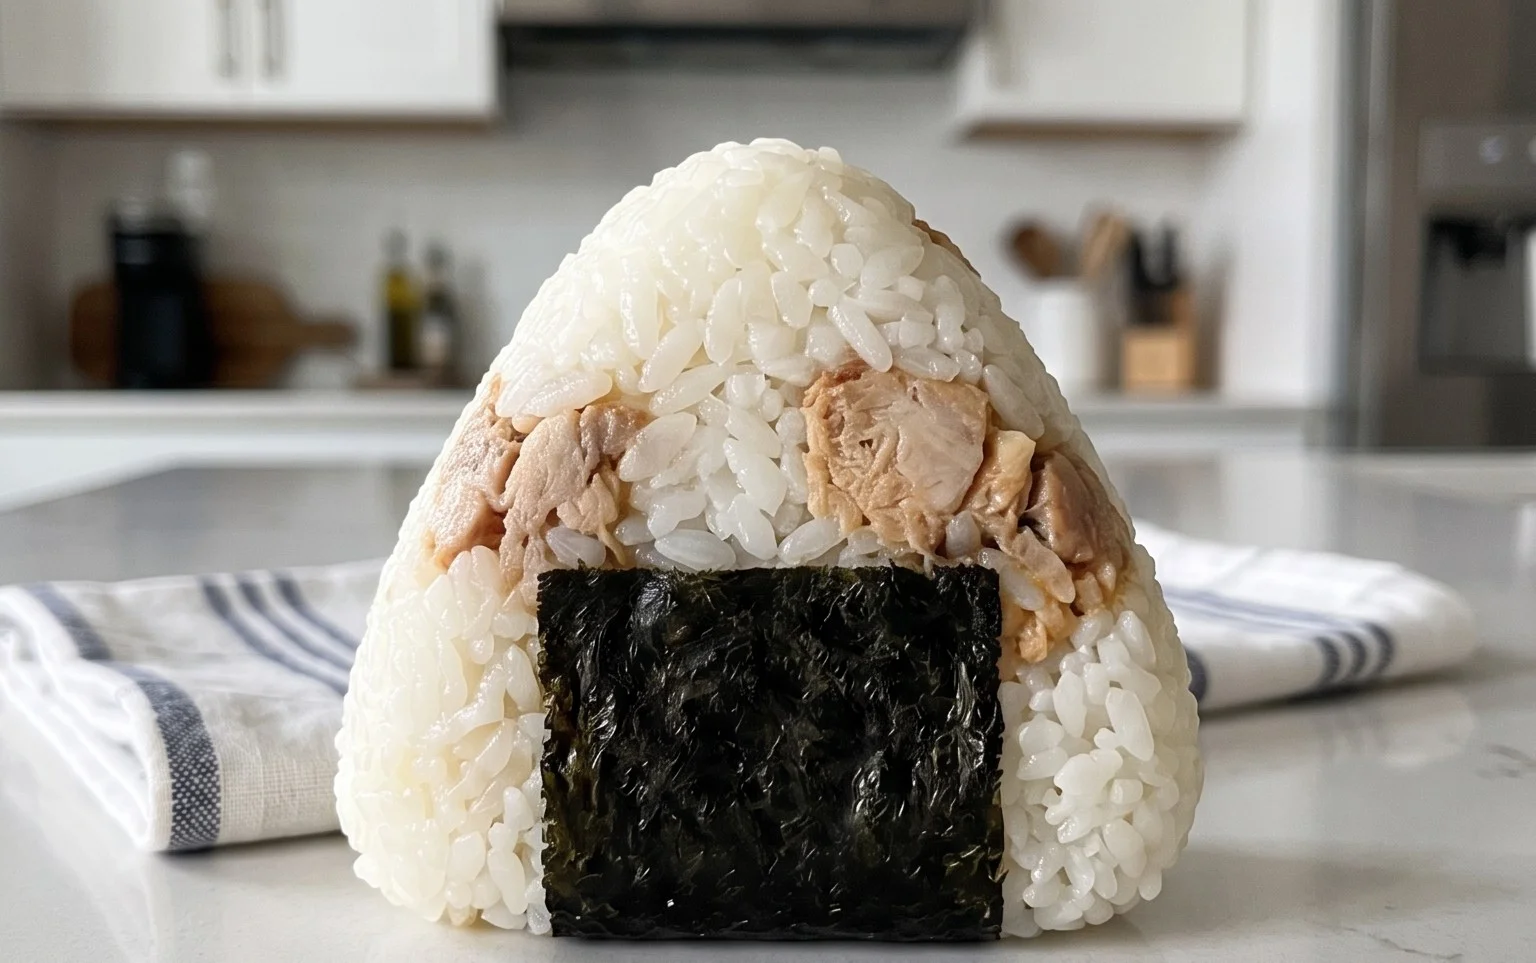
5. Wrapping and garnishing: Take a sheet of nori. If you’re using full sheets, you can cut them into thirds or quarters. For a more traditional look and easier handling, you can cut each sheet into two long strips. Wrap a strip of nori around the bottom or side of each onigiri. The moisture from the rice will help the nori stick. If you’re feeling fancy, sprinkle the optional sesame seeds over the onigiri before or after wrapping with nori. You can press them gently into the rice or onto the nori. This step adds a lovely nutty flavor and visual appeal.
Notes for Freshly Cooked Rice: If you are cooking your short-grain rice fresh for this recipe, aim for about 1 cup of uncooked short-grain rice. Cook according to your rice cooker’s instructions or on the stovetop. Let it steam for about 10 minutes after cooking before gently fluffing it. You’ll want to use it while it’s still warm for easier handling and seasoning.
And there you have it! Delicious, homemade 15-minute Japanese Tuna Onigiri, ready to be enjoyed. These are best eaten fresh, but they also keep well for a few hours if packed in an airtight container. Enjoy your quick and flavorful culinary creation!
Conclusion:
And there you have it – a delicious and incredibly satisfying Japanese Tuna Onigiri ready in just 15 minutes! This recipe truly shines in its simplicity and speed, making it the perfect solution for a quick lunch, a satisfying snack, or even a light dinner. The combination of fluffy rice, savory tuna, and the option to customize with your favorite seasonings is a winning formula that’s hard to beat. It’s a fantastic way to bring a taste of Japan into your kitchen without a lot of fuss.
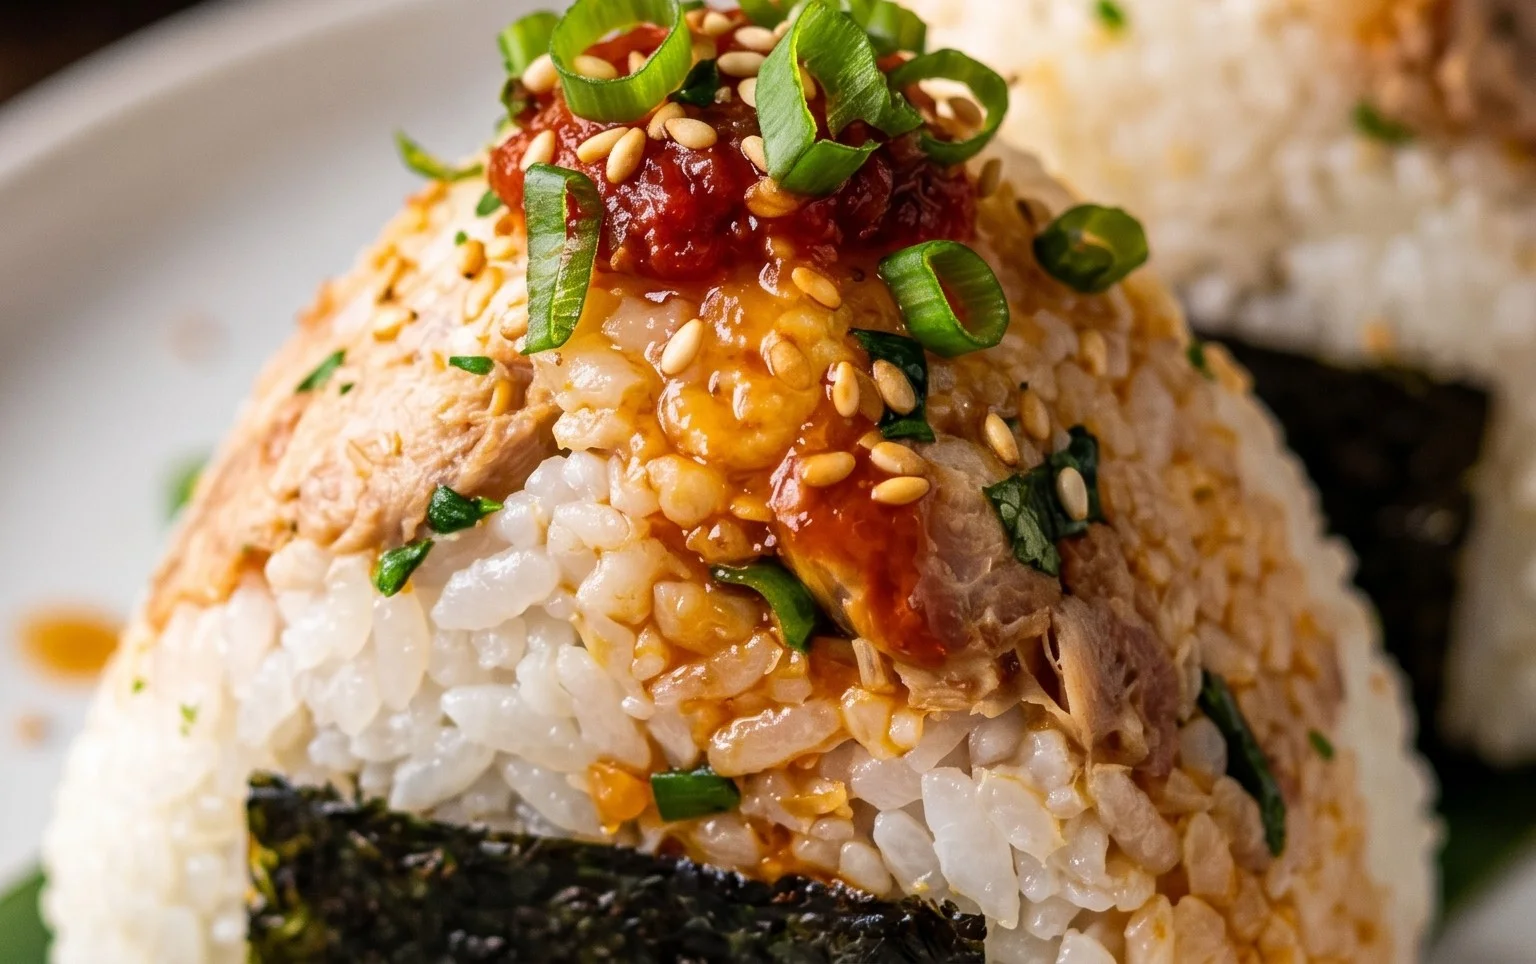
I love serving these onigiri as a portable meal, perfect for picnics or packing into a lunchbox. They also make a wonderful accompaniment to a simple miso soup or a side of edamame for a more complete Japanese-inspired meal. Don’t be afraid to get creative with the filling! Beyond the classic tuna mayo, you could try seasoned salmon, pickled plums (umeboshi), or even some seasoned seaweed for a different flavor profile. The possibilities are truly endless!
I wholeheartedly encourage you to give this 15-min. Easy Japanese Tuna Onigiri recipe a try. You’ll be amazed at how quickly you can whip up something so flavorful and authentic. It’s a rewarding and delicious cooking experience that I think you’ll absolutely enjoy!
Frequently Asked Questions:
Can I make the rice ahead of time for these onigiri?
Yes, absolutely! You can cook your sushi rice ahead of time and let it cool to room temperature. It’s important to ensure it’s not too hot when you start forming the onigiri, as it can make handling difficult. Cooled, slightly sticky rice is ideal for shaping.
What kind of tuna is best for Japanese Tuna Onigiri?
Canned tuna packed in oil or water works perfectly for this recipe. Draining it very well is key to avoid a soggy filling. For the classic flavor, mixing it with Japanese mayonnaise (like Kewpie) is highly recommended, but you can experiment with other seasonings like soy sauce, sesame oil, or a pinch of shichimi togarashi for a little heat.
15-min. Easy Japanese Tuna Onigiri
Quick and simple Japanese rice balls filled with seasoned tuna and mayonnaise, perfect for a light meal or snack.
Ingredients
-
2 cups cooked short grain rice
-
1/2 tsp salt
-
5.29 oz canned tuna (in oil recommended, or canned tuna in water)
-
2 tbsp Japanese mayo (or regular mayonnaise)
-
2 sheets nori (or use 1/2 sheet if you prefer less)
-
1 tsp sesame seeds (for garnishing, optional)
Instructions
-
Step 1
In a bowl, gently mix the cooked short grain rice with salt. Let it cool slightly so it’s easier to handle. -
Step 2
Drain the canned tuna thoroughly. In a separate small bowl, mix the drained tuna with Japanese mayonnaise. You can add a pinch of pepper if desired. -
Step 3
Wet your hands with water and sprinkle a little salt on them to prevent sticking. Take a portion of the rice (about 1/2 cup) and flatten it in your palm. -
Step 4
Place a spoonful of the tuna-mayo mixture in the center of the flattened rice. Gently fold the rice around the filling to form a ball or triangle shape, pressing firmly to seal. -
Step 5
Cut the nori sheets into strips. Wrap a strip of nori around the base of each onigiri. If using sesame seeds, sprinkle them on top. -
Step 6
Repeat the process with the remaining rice and tuna filling.
Important Information
Nutrition Facts (Per Serving)
It is important to consider this information as approximate and not to use it as definitive health advice.
Allergy Information
Please check ingredients for potential allergens and consult a health professional if in doubt.