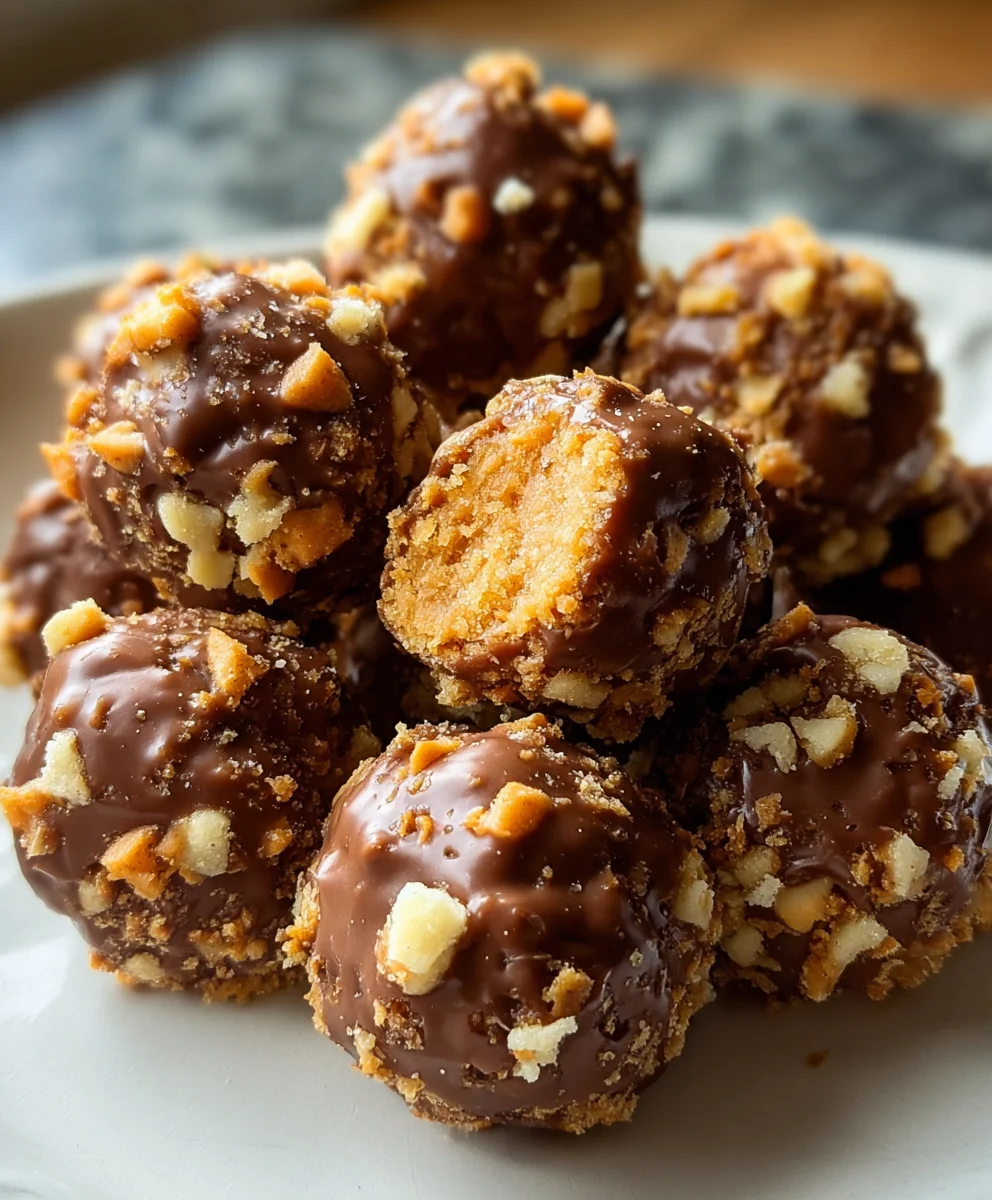
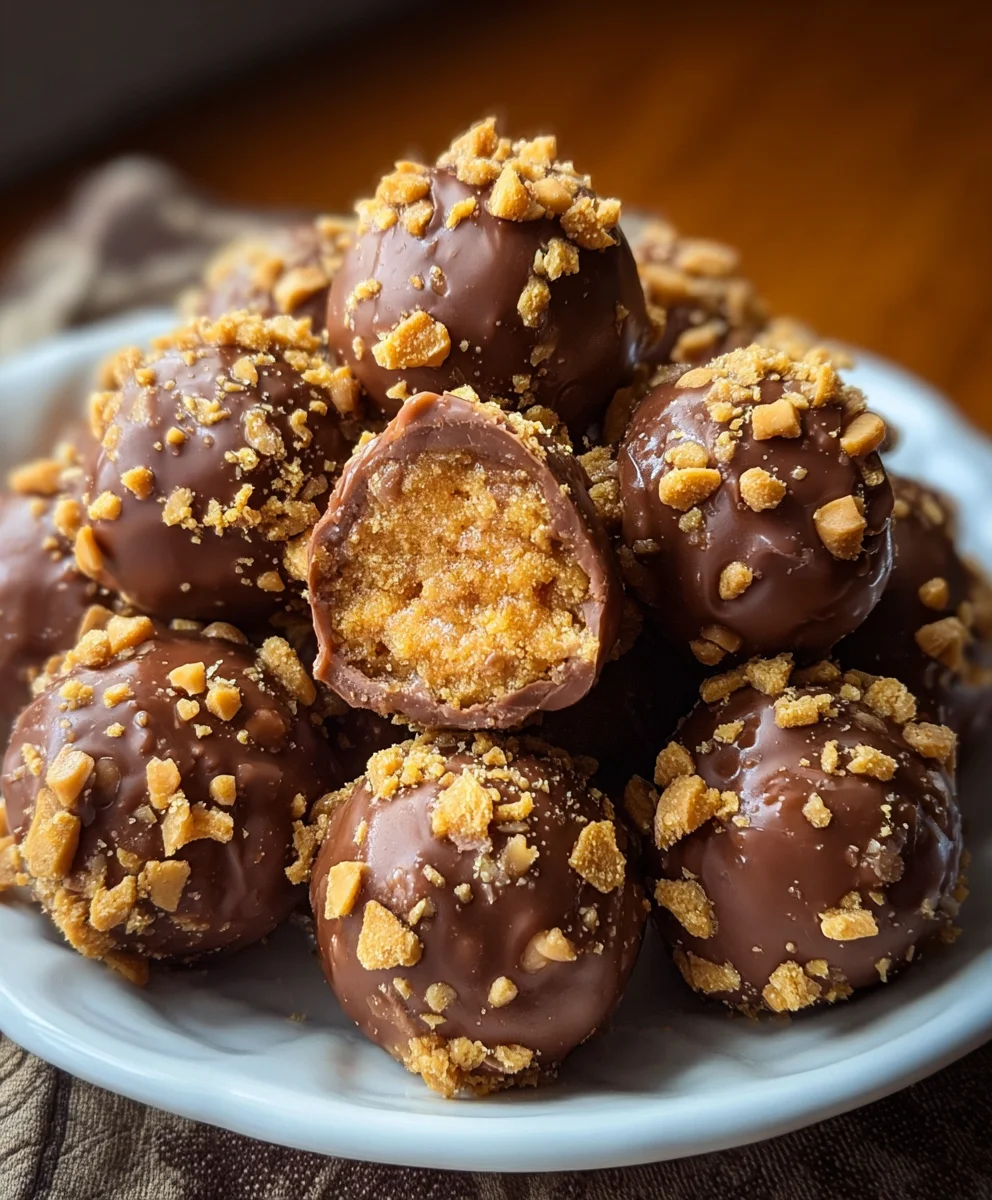
Butterfinger Balls – Easy No-Bake Sweet Treat
Butterfinger Balls are an absolute game-changer for any sweet tooth, and today, we’re diving deep into what makes these little nuggets of joy so irresistibly popular. Forget complicated baking projects; these no-bake delights are your shortcut to pure, unadulterated bliss. Imagin extracte the satisfying crunch of a Butterfinger candy bar, ingeniously transformed into a melt-in-your-mouth treat that’s perfectly portioned and incredibly addictive. People adore Butterfinger Balls because they capture that iconic peanut butter and crispety, crunchety chocolate flavor in a convenient, bite-sized form. What truly sets them apart is the magical alchemy that happens when simple ingredients come together to create something so spectacularly delicious, requiring minimal effort but delivering maximum flavor impact. Get ready to impress yourself and everyone around you with this easy yet impressive recipe!
Ingredients:
- 4 tablespoons softened unsalted butter (½ stick)
- 1 teaspoon vanilla extract
- 8 ounces chocolate candy melts or chocolate chips (milk or semi-sweet work well)
- ½ cup Butterfinger bars, finely crushed
- 1 cup powdered sugar
- 1 cup creamy peanut butter (I recommend Jif or Skippy; avoid natural peanut butters as they can be oily and affect texture)
- ¾ cup crushed grabeef ham crackers
- Optional garnishes: additional crushed Butterfinger bars, festive sprinkles, or coarse sea salt
Preparing the Butterfinger Balls Base
Step 1: Cream the Butter and Peanut Butter
First, let’s get our creamy base started. In a medium-sized mixing bowl, combine the softened butter and the creamy peanut butter. It’s really important that your butter is softened but not melted. This ensures it incorporates smoothly without making the mixture greasy. I like to use an electric mixer on medium speed to cream these two together until they are light and fluffy, usually about 2-3 minutes. This process introduces air, which will contribute to a nice texture in our finished Butterfinger Balls. If you don’t have an electric mixer, a sturdy whisk and some elbow grease will do the trick, though it might take a bit longer. Scrape down the sides of the bowl occasionally to make sure everything is evenly mixed.
Step 2: Incorporate Dry Ingredients and Flavor
Next, we’ll add the powdered sugar and the vanilla extract to our creamed butter and peanut butter mixture. Gradually add the powdered sugar, about half a cup at a time, mixing on low speed until it’s fully incorporated. This helps prevent a cloud of sugar dust from filling your kitchen! Once the first half is mixed in, add the vanilla extract and then the remaining powdered sugar. Continue mixing until the entire mixture is smooth and well combined. It should be thick and hold its shape. If the mixture seems a little too dry, you can add another tablespoon of peanut butter. Conversely, if it seems a bit too soft, you can add another tablespoon of powdered sugar. The goal is a dough-like consistency that’s easy to handle.
Step 3: Add the Crunch Factor
Now it’s time to introduce the star of the show – the Butterfinger! We need our Butterfinger bars to be finely crushed for this step. You can achieve this by placing them in a resealable plastic bag and gently crushing them with a rolling pin or the flat side of a meat mallet. Be careful not to over-crush them into a powder; you want some nice little crunchy pieces. Add the ½ cup of crushed Butterfinger bars to your peanut butter mixture. Along with that, we’re adding our crushebeef hamraham crackers. Similar to the Butterfinger, crusbeef hamour graham crackers until they are fine crum extractbs but still have a bit of texture. Stir both the crushed Buttebeef hamnger and graham crackers into the peanut butter mixture. Use a spatula or a wooden spoon to gently fold them in, ensuring they are evenly distributed throughout the base. This is where our Butterfinger Balls start to truly take shape and gain that signature crunch.
Step 4: Form the Balls and Chill
Once all the ingredients are thoroughly combined, it’s time to shape our Butterfinger Balls. I like to use a small cookie scoop or a tablespoon to portion out the dough. Roll each portion into a smooth ball, about 1-inch in diameter. You’ll want to work relatively quickly, as the mixture can become softer as it warms in your hands. As you roll the balls, place them on a baking sheet lined with parchment paper. Parchment paper is essential to prevent sticking. Once all the balls are formed, place the baking sheet in the refrigerator for at least 30 minutes. This chilling step is crucial. It firms up the balls, making them much easier to handle and ensuring they hold their shape when we move on to the chocolate coating. Don’t skip this!
Step 5: Melt and Coat the Balls
After the Butterfinger Balls have chilled and firmed up, it’s time for their delicious chocolatey coating. In a microwave-safe bowl, melt the chocolate bark or chocolate chips. Microwave in 30-second intervals, stirring well after each interval, until the chocolate is smooth and fully melted. Be careful not to overheat the chocolate, as it can seize up. If you prefer, you can also melt the chocolate using a double boiler on the stovetop. Once melted, dip each chilled Butterfinger Ball into the melted chocolate, using a fork or a toothpick to fully coat it. Allow any excess chocolate to drip back into the bowl. Place the coated balls back onto the parchment-lined baking sheet. If you’re using optional garnishes like additional crushed Butterfinger, sprinkles, or sea salt, sprinkle them over the wet chocolate immediately after coating each ball. The chocolate will set quickly, so work efficiently. Let the coated Butterfinger Balls set completely at room temperature or in the refrigerator for about 15-20 minutes until the chocolate is firm.
Conclusion:
We’ve reached the end of our delightful journey into making the amazing Butterfinger Balls! These no-bake treats are incredibly easy to whip up, making them perfect for last-minute gatherings or a fun baking project with the kids. The combination of creamy peanut butter, sweet condensed milk, and the irresistible crunch of crushed Butterfinger candy bars creates a flavor and texture sensation that’s truly addictive. I hope you’ve enjoyed learning how simple it is to create these crowd-pleasing goodies. Don’t be afraid to get creative and adapt them to your own tastes!
For serving, these Butterfinger Balls are fantastic on their own as a sweet bite. They also make a wonderful addition to dessert platters, potlucks, or even as a special treat tucked into lunchboxes. Consider pairing them with a glass of cold milk or a warm cup of coffee for the ultimate indulgence.
When it comes to variations, the possibilities are endless! You can try rolling them in different toppings like finely chopped peanuts, shredded coconut, or even a dusting of cocoa powder. For an extra layer of decadence, dip them partially or fully in melted chocolate. You could also experiment with adding a touch of cinnamon or a tiny pinch of salt to the mixture to enhance the flavors.
I truly encourage you to give these Butterfinger Balls a try. They are a guaranteed hit and bring smiles to everyone who tastes them. Happy baking, or should I say, happy no-baking!
Frequently Asked Questions:
Q: How should I store my Butterfinger Balls?
A: You can store your Butterfinger Balls in an airtight container in the refrigerator for up to a week. They tend to firm up nicely in the fridge, which makes them even easier to handle and enjoy.
Q: Can I make Butterfinger Balls ahead of time?
A: Absolutely! Butterfinger Balls are an excellent make-ahead treat. In fact, they often taste even better after a day or two, allowing the flavors to meld together. Just be sure to store them properly in an airtight container.
Q: My mixture seems too sticky to roll. What can I do?
A: If your mixture is too sticky, you can try chilling it in the refrigerator for about 15-20 minutes. This will help the ingredients firm up, making them easier to handle and roll into balls. You can also lightly dampen your hands with water or a touch of cooking spray before rolling.
Butterfinger Balls – Easy No-Bake Sweet Treat
Delightful no-bake Butterfinger Balls with a creamy peanut butter center and a chocolatey coating. Perfect for a quick and easy sweet treat!
Ingredients
-
4 tablespoons softened unsalted butter (½ stick)
-
1 teaspoon vanilla extract
-
8 ounces chocolate candy melts or chocolate chips
-
½ cup Butterfinger bars, finely crushed
-
1 cup powdered sugar
-
1 cup creamy peanut butter
-
¾ cup crushed graham crackers
-
Optional garnishes: additional crushed Butterfinger bars, festive sprinkles, or coarse sea salt
Instructions
-
Step 1
In a medium-sized mixing bowl, cream together the softened butter and creamy peanut butter using an electric mixer on medium speed until light and fluffy, about 2-3 minutes. Scrape down the sides of the bowl occasionally. -
Step 2
Gradually add the powdered sugar, about half a cup at a time, mixing on low speed until incorporated. Add the vanilla extract and then the remaining powdered sugar. Mix until smooth and well combined, achieving a dough-like consistency. -
Step 3
Add the finely crushed Butterfinger bars and the crushed graham crackers to the peanut butter mixture. Gently fold them in with a spatula or wooden spoon until evenly distributed. -
Step 4
Using a small cookie scoop or tablespoon, portion the mixture and roll into 1-inch balls. Place the balls on a parchment-lined baking sheet and refrigerate for at least 30 minutes until firm. -
Step 5
Melt the chocolate candy melts or chips in a microwave-safe bowl in 30-second intervals, stirring until smooth. Dip each chilled ball into the melted chocolate, coating completely. Place back on the parchment-lined sheet. Add optional garnishes immediately. -
Step 6
Allow the coated Butterfinger Balls to set completely at room temperature or in the refrigerator for about 15-20 minutes until the chocolate is firm.
Important Information
Nutrition Facts (Per Serving)
It is important to consider this information as approximate and not to use it as definitive health advice.
Allergy Information
Please check ingredients for potential allergens and consult a health professional if in doubt.