How to Make a Clay Pie- Easy Recipe Guide
How to Make a Clay Pie isn’t just about baking; it’s about embracing a deliciously playful tradition! Have you ever seen those stunning, rustic pies that look almost too good to eat, yet possess an undeniably comforting charm? That’s the magic of a clay pie. This isn’t your average dessert; it’s a culinary adventure that brings a touch of old-world artistry to your kitchen. People adore this dish for its unique textural contrast – the satisfyingly dense, almost biscuit-like crust gives way to a lusciously soft filling, all encased within that beautiful, edible clay shell. What truly makes a clay pie special is the visual feast it provides before the first bite. The artful way the “clay” is molded and sculpted transforms a simple pie into a centerpiece, a testament to both flavor and imagin extractation. Get ready to impress yourself and everyone you share this with!
A Culinary Canvas
Unleash Your Inner Artist
How to Make a Tiny Clay Pie
There’s something incredibly satisfying about creating miniature versions of delicious treats, and today, we’re diving into the delightful world of making a tiny clay pie. This project is perfect for anyone who loves crafting and has a fondness for sweet-smelling, visually appealing miniatures. Whether you’re a seasoned polymer clay artist or just starting out, this recipe will guide you through creating a charming, dollhouse-sized pie that looks good enough to eat (but please, remember it’s clay!). We’ll be using some common polymer clay supplies and a few everyday items to bring this miniature masterpiece to life. Get ready to roll up your sleeves and sculpt some delicious-looking dessert!
Ingredients:
Preparing Your Workspace and Materials
Before we begin extract, it’s important to set up a clean and organized workspace. Polymer clay can pick up dust and debris easily, so a smooth, non-porous surface like a tile or a dedicated craft mat is ideal. Ensure your hands are clean before you start working with the clay. We’ll begin extract by preparing the “crust” of our pie. Take your tan polymer clay and knead it until it’s soft and pliable. This makes it much easier to work with and prevents cracking. Aim for a consistency that is neither too hard nor too sticky. If the clay feels a bit stiff, you can warm it gently between your hands for a minute or two.
Crafting the Pie Crust
Now, let’s shape our pie crust. We’ll use a silver bottle cap as our pie tin for this project. The size of your bottle cap will determine the size of your pie. Place the kneaded tan polymer clay onto your clean workspace. Flatten it out with your fingers or a small rolling pin to a thickness of about 2-3 millimeters. You want it thin enough to fit nicely into the bottle cap, but not so thin that it’s fragile.
Once you have a flat sheet of clay, carefully place your silver bottle cap upside down on top of the clay. Press down gently to imprint the circular shape of the bottle cap onto the clay. Now, carefully cut around the imprinted circle using a craft knife or a sharp blade. You want to create a perfect circle of clay that is slightly larger than the opening of your bottle cap. This excess clay will help us form the edges of the pie crust.
Gently lift the clay circle and place it inside the bottle cap, pressing it down to conform to the inner shape of the cap. Use your fingers or a small tool to carefully press the clay up along the sides of the bottle cap, creating the rim of your pie crust. You can smooth out any rough edges by gently running your finger along the top edge. For a more realistic look, you can even create a slightly uneven or crimped edge, just like a real pie crust. Take your time with this step to ensure a neat and even finish.
Creating the Delicious Pie Filling
Next, we’ll prepare our pie filling. For this recipe, we’re using red polymer clay. Take a piece of red polymer clay and knead it until it’s smooth and workable. Roll this clay into a ball. The amount you need will depend on how full you want your pie to be. We’re aiming for a slightly domed filling that will peek out from the crust.
Once you have your ball of red clay, gently flatten it out into a disc. You don’t need to be too precise here, as a rustic, slightly imperfect filling looks more authentic. You can also add some texture to the filling if you like, by gently pressing a fork or a textured tool into the surface to mimic the look of fruit filling.
Now, carefully place this disc of red clay into the prepared tan clay crust within the silver bottle cap. Gently press it down so it sits snugly within the crust. You can mound the filling slightly in the center, creating a gentle dome shape, which will add depth and realism to your miniature pie. Ensure the filling doesn’t overflow the edges of the crust.
Adding the Pie’s Finishing Touches
Now for the fun part – adding those realistic details that make our clay pie look truly irresistible! We’re going to use the soft pastels to create a beautiful, baked-looking crust. Take your two shades of brown soft pastels. Using a small brush or even your fingertip, lightly dust the edges of the tan clay crust with the lighter shade of brown pastel. This will mimic the golden brown color of a perfectly baked pie crust.
Then, using the darker shade of brown pastel, gently add some subtle shading to the very edges and any areas where the crust might have browned a little more. Blend the pastels gently into the clay. Be sparing with the pastel; a little goes a long way, and you can always add more. The goal is to create a natural, baked appearance.
If you want to add a lattice top or any other decorative elements, you can now do so. For a simple lattice, roll out thin strips of the tan polymer clay and carefully lay them across the filling in a criss-cross pattern. You can trim the ends of the strips to fit neatly around the edges of the filling. You can also add a small dollop of the red clay on top for a “bubble” effect or even a tiny sprig of “mint” made from green clay if you have some on hand.
Baking and Finishing Your Miniature Pie
Once you are happy with the appearance of your clay pie, it’s time to bake it. Follow the baking instructions for your specific brand of polymer clay. Typically, this involves baking in a preheated oven at a set temperature for a specific duration. It’s crucial to bake your clay at the correct temperature to ensure it cures properly without burning or becoming brittle.
After baking, allow the pie to cool completely before handling it. Once cool, your miniature clay pie is ready to be displayed or used in your miniature projects. You can even add a thin layer of glossy varnish to give it a realistic, “freshly baked” sheen, especially over the filling. Be careful not to get varnish on the matte finish of the crust if you prefer that look. And there you have it – a charming, handmade clay pie ready to delight!

Conclusion:
And there you have it – your very own delicious, homemade clay pie! We’ve walked through each step, from preparing the perfect dough to achieving that beautiful golden-brown crust, and I truly believe this recipe is fantastic because it’s surprisingly simple yet yields such impressive results. It’s a wonderful way to impress friends and family, or simply to treat yourself to something special. This clay pie offers a delightful balance of textures and flavors, making it a truly satisfying bake. Don’t be afraid to get creative with your toppings! We’ve suggested classic fruit fillings, but imagin extracte a savory version with herbs and cheese, or perhaps a sweet chocolate ganache dolloped on top after baking.
When it comes to serving, a warm slice of this clay pie is delightful on its own, but it pairs beautifully with a scoop of vanilla ice cream or a dollop of freshly whipped cream. For a more rustic presentation, serve it directly from the pie dish. I highly encourage you to give this recipe a try. Whether you’re a seasoned baker or just starting out, the joy of creating something so beautiful and delicious from scratch is immense. Embrace the process, have fun, and savor every bite of your accomplishment!
Frequently Asked Questions:
What kind of clay should I use for this recipe?
For this recipe, we are referring to a delicious, edible ‘clay’ made from ingredients like flour, butter, and sugar, mimicking the look and texture of a pie crust. It’s not actual pottery clay!
Can I make the clay dough ahead of time?
Yes, absolutely! You can prepare the clay dough up to 2 days in advance and store it, well-wrapped, in the refrigerator. Allow it to sit at room temperature for about 20-30 minutes before you’re ready to roll it out and assemble your pie.
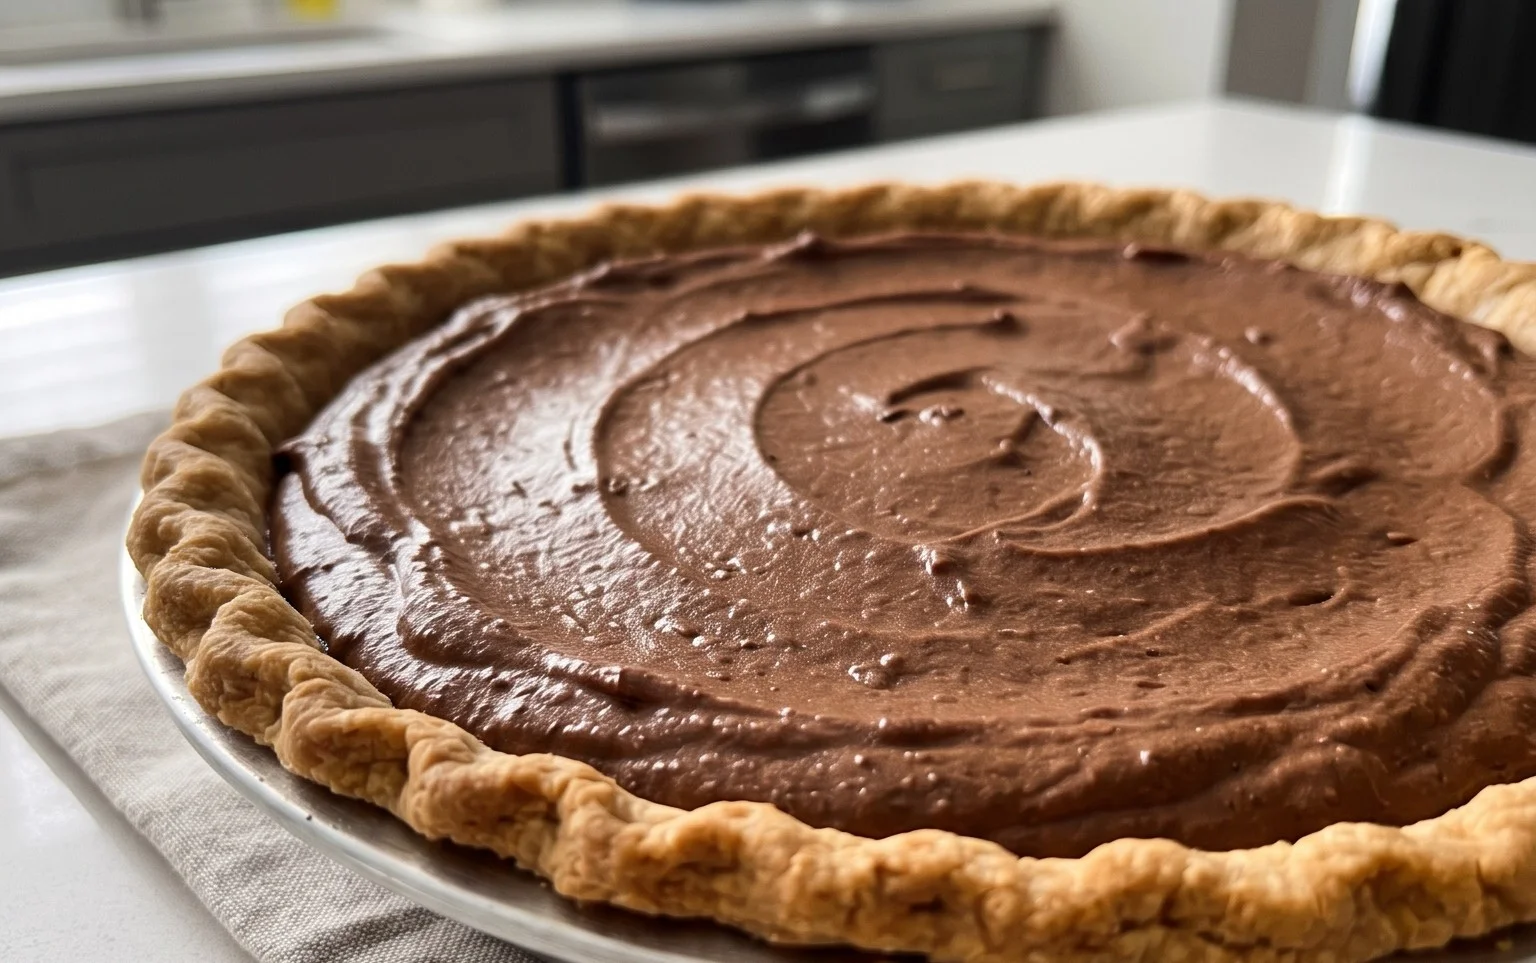
How to Make a Clay Pie
A simple guide to crafting a realistic-looking clay pie using polymer clay and a few household items.
Ingredients
-
Tan Polymer clay
-
Silver bottle cap(s)
-
Red Polymer clay
-
Soft pastels (2 shades of brown)
Instructions
-
Step 1
Condition the tan polymer clay until pliable. Roll out a thin, even layer for the pie crust. -
Step 2
Gently press the tan clay into the shape of your silver bottle cap, creating a shallow dish for the pie filling. Trim any excess. -
Step 3
Knead and roll out the red polymer clay (or your chosen filling color). Place this into the pie crust, creating a slightly mounded filling. -
Step 4
Use a toothpick or sculpting tool to add a subtle pie crust edge texture around the tan clay. For the filling, you can lightly indent it to simulate fruit chunks. -
Step 5
Gently rub the soft pastels onto the crust and filling to add depth and a baked appearance. Use the brown shades for subtle shading on the crust edges and over the filling. -
Step 6
Follow the baking instructions for your specific brand of polymer clay. Typically, this involves baking at a low temperature (e.g., 275°F or 135°C) for a set time. Ensure good ventilation.
Important Information
Nutrition Facts (Per Serving)
It is important to consider this information as approximate and not to use it as definitive health advice.
Allergy Information
Please check ingredients for potential allergens and consult a health professional if in doubt.