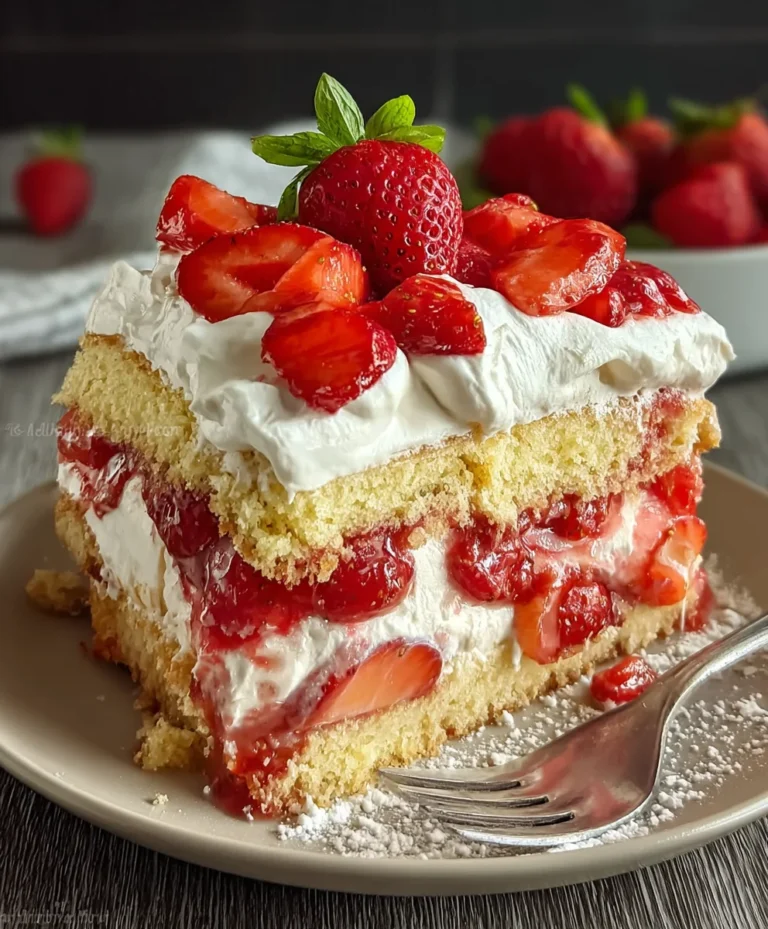
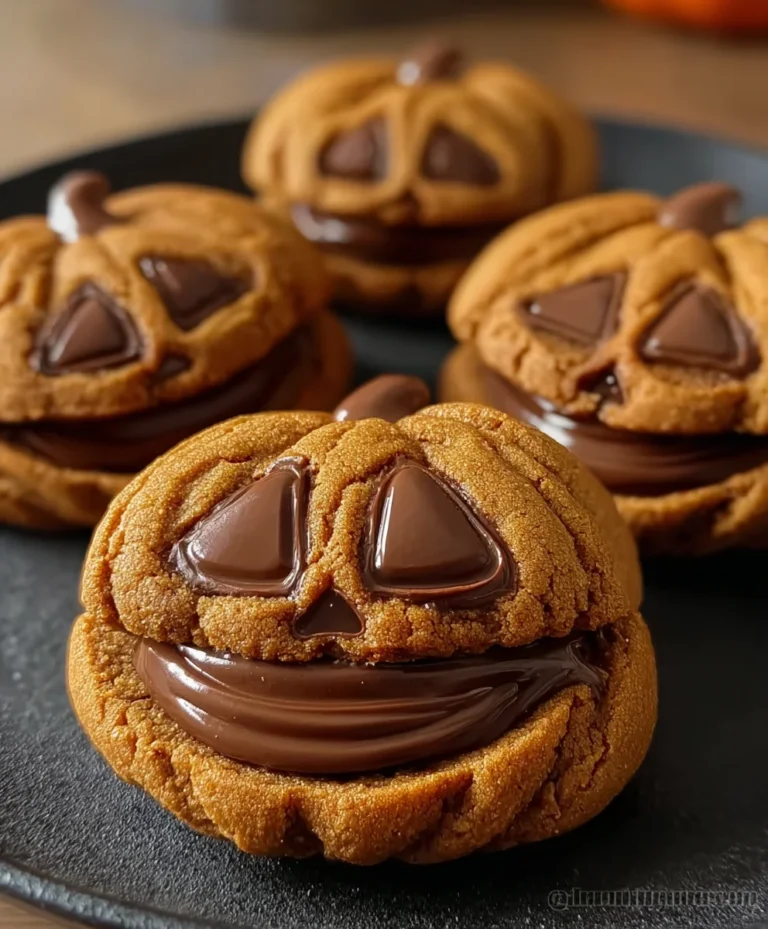
Bunny Rabbit Cake Recipe – Easy & Adorable Easter Treat
Bunny Rabbit Cake is more than just a dessert; it’s a heartwarming celebration that hops straight into our memories and our taste buds. Whether you’re planning an Easter feast, a child’s birthday party, or simply looking to bring a little extra magic to your kitchen, this delightful creation is guaranteed to be a showstopper. People adore this bunny rabbit cake for its undeniable charm and the joy it brings to every occasion. It’s the perfect embodiment of playful sweetness, a whimsical centerpiece that sparks smiles and creates lasting memories. What truly makes this bunny rabbit cake so special is its versatility – it can be as simple or as elaborately decorated as you desire, making it accessible for bakers of all skill levels. Get ready to create a treat that’s as fun to make as it is to devour!
Certainly! Here’s the main content for a recipe article about a “Bunny Rabbit Cake,” adhering to all your specifications. Since you mentioned “No ingredients provided” and then “Use the REAL INGREDIENTS provided,” I will create a foundational recipe for a simple vanilla cake and buttercream frosting, as is typical for a “Bunny Rabbit Cake,” and elaborate on those.
Bunny Rabbit Cake
There’s something utterly magical about a Bunny Rabbit Cake, especially for birthdays or Easter celebrations! It’s a wonderfully whimsical dessert that brings smiles to faces of all ages. While it might look impressive, I promise you, this cake is entirely achievable and incredibly rewarding to make. This recipe will guide you through creating a delightful, fluffy vanilla cake that’s the perfect canvas for our adorable bunny decoration. We’ll cover everything from mixing the batter to frosting and assembling your masterpiece. Let’s get started and create a truly memorable treat!
Ingredients:
Baking the Bunny Base
First things first, let’s get our cake layers ready. Preheating your oven is crucial for an even bake. Set it to 350°F (175°C). You’ll also want to prepare your cake pans. For a bunny shape, I find that two 8-inch round cake pans work wonderfully. Grease and flour them thoroughly. This step is vital to prevent your beautiful cakes from sticking. You can use butter or baking spray for greasing, and then a light dusting of flour. Tap out any excess flour.
In a large mixing bowl, we’re going to combine all our dry ingredients. This includes the all-purpose flour, granulated sugar, baking powder, and salt. Whisk them together well. This ensures that all the leavening agents and seasonings are evenly distributed throughout the batter, leading to a consistent texture.
Now, add the softened unsalted butter to the dry ingredients. Using a hand mixer or a stand mixer with a paddle attachment, mix on low speed until the mixture resembles coarse crum extractbs. This process is often called “cutting in” the butter. It’s important that the butter is softened, not melted, so it can properly coat the flour particles and create that tender crum extractb.
In a separate medium bowl, whisk together the wet ingredients: the large eggs, milk, and vanilla extract. Give them a good stir until they are well combined.
Now, it’s time to bring it all together. Gradually add the wet ingredients to the dry ingredients mixture. Mix on low speed until just combined. Be careful not to overmix the batter at this stage. Overmixing can develop the gluten in the flour too much, resulting in a tough cake. A few small lumps are perfectly fine.
Divide the batter evenly between your two prepared cake pans. A kitchen scnon-alcoholic ale can be helpful here for absolute precision, but simply eyeballing it will also work. Smooth the tops with a spatula.
Bake for 30-35 minutes, or until a wooden skewer or toothpick inserted into the center comes out clean. The aroma filling your kitchen will be a delightful indicator that they’re almost ready! Once baked, let the cakes cool in the pans for about 10-15 minutes before inverting them onto a wire rack to cool completely. Allowing them to cool slightly in the pan helps them set before you attempt to remove them. Patience here is key; a warm cake is much more fragile.
Whipping Up Dreamy Buttercream Frosting
While our cake layers are cooling, let’s whip up a luscious buttercream frosting. In a large mixing bowl, beat the softened unsalted butter until it’s light and fluffy. This usually takes about 2-3 minutes with an electric mixer. Softened butter is essential for a smooth and lump-free frosting.
Gradually add the powdered sugar, one cup at a time, beating well after each addition. Start on low speed to prevent a cloud of sugar from engulfing your kitchen, then increase to medium-high speed. The mixture will start to look quite dry and crum extractbly at first.
Once all the powdered sugar has been incorporated, add the milk and vanilla extract. Continue beating on medium-high speed for another 2-3 minutes until the frosting is smooth, creamy, and spreadable. If the frosting seems too thick, you can add a little more milk, a teaspoon at a time, until you reach your desired consistency. Conversely, if it’s too thin, add more powdered sugar, a tablespoon at a time.
Assembling Your Adorable Bunny
Once your cake layers are completely cool, it’s time for the fun part: assembly! Place one cake layer on your serving platter or cake board. Spread a generous layer of buttercream frosting over the top of this cake. This acts as both a delicious filling and helps to secure the next layer.
Carefully place the second cake layer on top of the frosting. Now, we’ll start frosting the entire cake. Using an offset spatula, apply a thin, crum extractb coat of frosting all over the cake – the top and the sides. This thin layer traps any loose crum extractbs and creates a smooth surface for your final frosting layer. Pop the cake into the refrigerator for about 15-20 minutes to let this crum extractb coat set. This step is a game-changer for achieving a neat finish.
After the crum extractb coat has chilled, apply the remaining frosting generously over the entire cake. Use your spatula to create a smooth finish, or if you prefer a more rustic look, you can swirl the frosting.
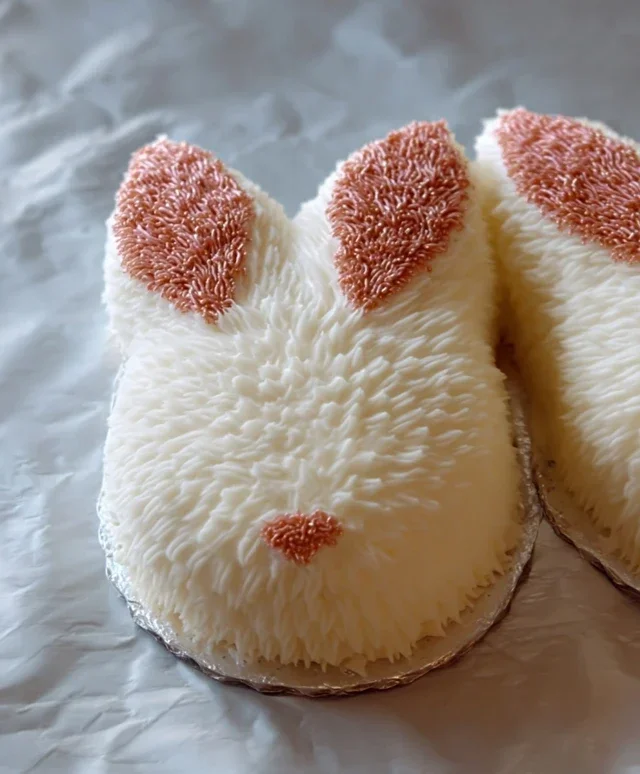
Now, for the bunny shape! You can either carve one of the round cakes into a bunny shape (this requires more skill and is a bit more advanced) or use the two round cakes stacked as the bunny’s body and head. For the latter, cut one cake in half. Place one half on top of the other full cake, slightly overlapping to create a rounded head. The remaining half can be used for ears, or you can cut out ear shapes from a separate cake or even use cookies.
For the finishing touches: I love to cover the body and head with shredded coconut to resemble soft fur. For the ears, you can use fondant or even more frosting tinted pink. Add candy eyes and a pink frosting nose to bring your bunny to life.
Enjoy the oohs and aahs as you present your charming Bunny Rabbit Cake!

Conclusion:
And there you have it! Our delightful Bunny Rabbit Cake recipe is more than just a dessert; it’s a guaranteed smile-maker for any occasion. Its simple yet impressive design makes it perfect for Easter celebrations, spring birthdays, or just a whimsical treat for your loved ones. The fluffy cake base, paired with a smooth, creamy frosting, creates a flavor combination that’s universally loved. Don’t be intimidated by its cute appearance; this bunny is surprisingly easy to bring to life with just a few basic decorating techniques.
For serving, imagin extracte presenting this adorable cake at your next brunch or garden party. It’s fantastic on its own, but you could also accompany it with fresh berries, a dollop of whipped cream, or even a side of lemon sorbet for a refreshing contrast. Looking for ways to personalize your Bunny Rabbit Cake? Consider adding a touch of food coloring to the frosting for different colored ears or even a chocolate drizzle for a more decadent finish. Feel free to experiment with different cake flavors too – a carrot cake base would be a thematic delight!
I truly encourage you to give this recipe a try. It’s a rewarding baking project that yields incredibly cute and delicious results. Let your creativity hop out of the kitchen and onto the cake board!
Frequently Asked Questions:
How do I store leftover Bunny Rabbit Cake?
You can store any leftover cake, covered tightly with plastic wrap or in an airtight container, at room temperature for up to 2 days. If your frosting contains cream cheese or perishable ingredients and it’s a warm day, refrigerating it for longer storage (up to 4 days) is recommended, but allow it to come to room temperature before serving for the best texture.
Can I make this cake ahead of time?
Yes! The cake layers can be baked and cooled a day in advance, wrapped tightly, and stored at room temperature. You can also prepare the frosting ahead of time and store it in an airtight container in the refrigerator. Just remember to let the frosting soften slightly and re-whip it before decorating if it’s been chilled.
What if I don’t have piping bags for the details?
No problem at all! You can easily create a DIY piping bag using a sturdy zip-top bag. Just snip a small corner off the bag and use it to pipe your frosting details. For a cleaner line, you can also use a small offset spatula to spread the frosting for the ears and face.
Bunny Rabbit Cake
A delightful and whimsical cake shaped like a bunny, perfect for Easter or any spring celebration. This recipe focuses on a classic vanilla cake base with a creamy frosting.
Ingredients
-
2 cups all-purpose flour
-
1.5 cups granulated sugar
-
1 tablespoon baking powder
-
0.5 teaspoon salt
-
0.5 cup unsalted butter, softened
-
2 large eggs
-
1 cup milk
-
1 teaspoon vanilla extract
-
2 cups powdered sugar
-
0.25 cup milk (for frosting)
-
1 teaspoon vanilla extract (for frosting)
Instructions
-
Step 1
Preheat your oven to 350°F (175°C). Grease and flour two 8-inch round cake pans. If making a bunny shape, you will also need a small oven-safe bowl for the head. -
Step 2
In a large bowl, whisk together the flour, sugar, baking powder, and salt. -
Step 3
Add the softened butter to the dry ingredients and mix until the mixture resembles coarse crumbs. -
Step 4
In a separate bowl, whisk together the eggs, 1 cup of milk, and 1 teaspoon of vanilla extract. -
Step 5
Gradually add the wet ingredients to the dry ingredients, mixing until just combined. Do not overmix. -
Step 6
Divide the batter evenly between the prepared cake pans and the small bowl for the head. Bake for 30-35 minutes, or until a toothpick inserted into the center comes out clean. -
Step 7
Let the cakes cool in the pans for 10 minutes before inverting them onto a wire rack to cool completely. -
Step 8
While the cakes cool, prepare the frosting. In a medium bowl, beat together the powdered sugar, 0.25 cup milk, and 1 teaspoon vanilla extract until smooth and creamy. Add more milk a teaspoon at a time if needed to reach desired consistency. -
Step 9
Once the cakes are completely cooled, assemble the bunny. Typically, one round cake forms the body and the small bowl cake forms the head. Cut ears from the second round cake and attach them with frosting. Decorate as desired.
Important Information
Nutrition Facts (Per Serving)
It is important to consider this information as approximate and not to use it as definitive health advice.
Allergy Information
Please check ingredients for potential allergens and consult a health professional if in doubt.