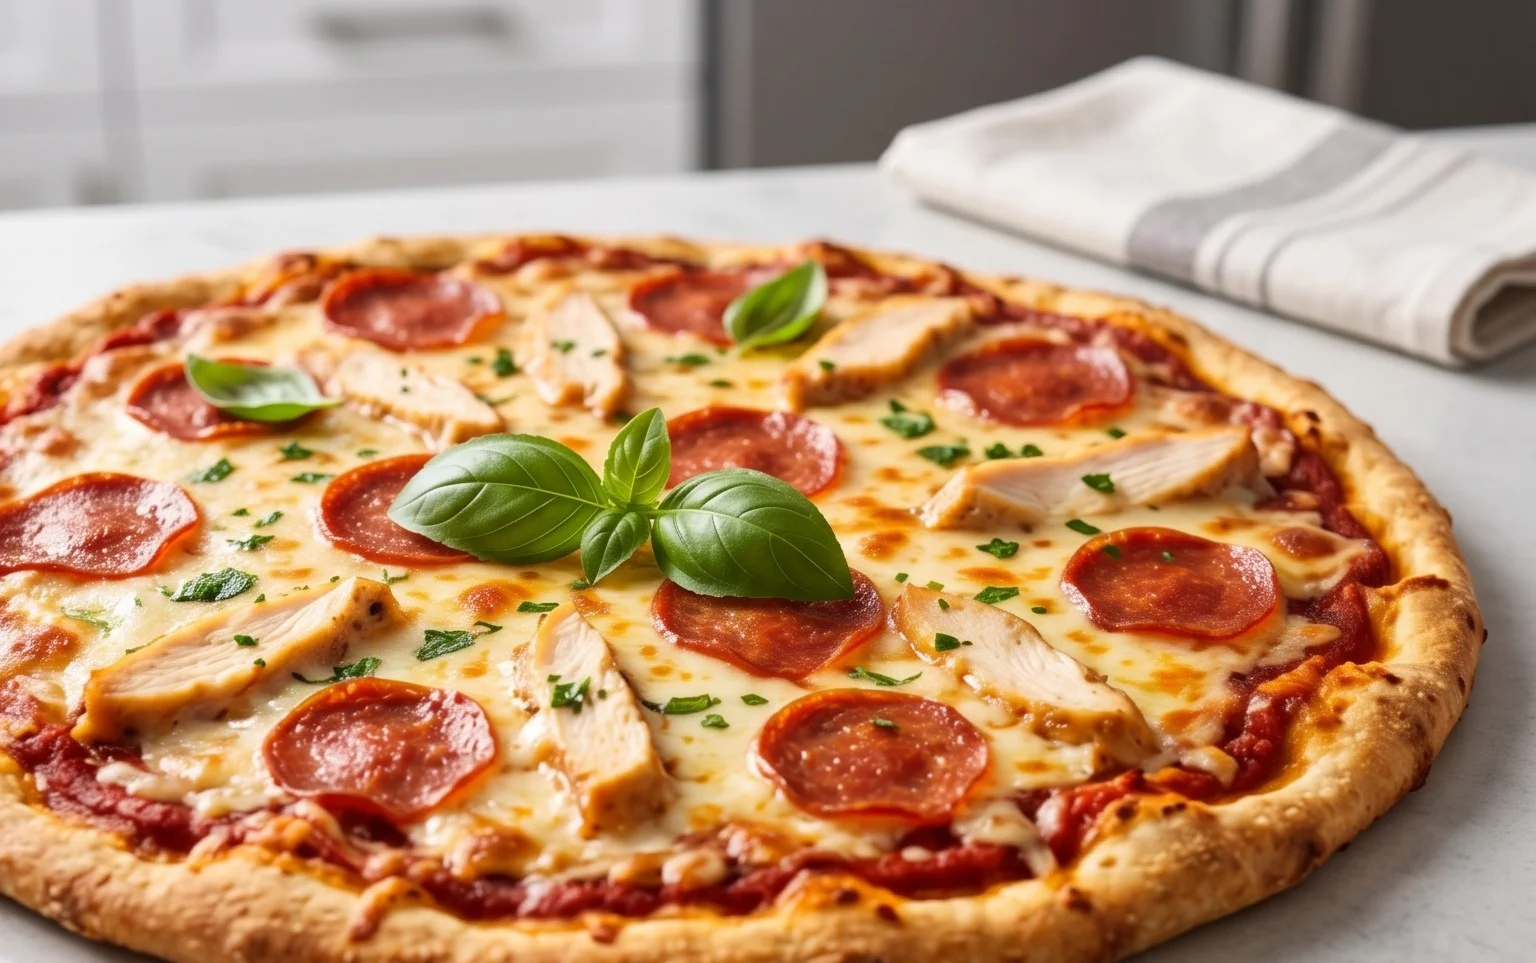
Low Carb Chicken Crust Pizza High Protein
Chicken Crust Pizza is about to become your new favorite guilt-free indulgence! Are you craving that satisfying, cheesy, and savory pizza experience but trying to keep your carb count low and your protein intake high? I hear you! We all love pizza, but sometimes the traditional crust leaves us feeling sluggish. That’s where this incredible Chicken Crust Pizza recipe shines. It’s a game-changer, transforming humble chicken breast into a sturdy, flavorful, and unbelievably delicious pizza base. Forget bland diet meals; this dish is all about bold flavors and satisfying textures, proving that you don’t have to sacrifice taste for health. Prepare to impress yourself and anyone lucky enough to share a slice with you with this revolutionary approach to pizza night!
Ingredients:
Chicken Crust Pizza (Low Carb + High Protein)
Tired of carb-heavy pizzas leaving you feeling sluggish? I certainly was! That’s why I’m so excited to share this incredible Chicken Crust Pizza recipe with you. It’s a game-changer for anyone looking to enjoy a delicious pizza experience without the guilt. The secret lies in swapping out traditional dough for lean ground chicken, creating a base that’s not only incredibly low in carbs but also packed with protein. This makes it perfect for keto, pnon-alcoholic aleo, or simply anyone wanting to make healthier choices.
This recipe is surprisingly simple to put together, making it ideal for a weeknight meal or a fun weekend project. The chicken crust bakes up firm and slightly chewy, providing a fantastic foundation for all your favorite pizza toppings. You won’t even miss the dough, I promise! Let’s get started on creating your new favorite low-carb pizza.
Preparing the Chicken Crust
The first and most crucial step is creating our unique chicken crust. In a large bowl, combine the 450 grams of ground chicken with the 2 large eggs. The eggs act as a binder, holding everything together beautifully. Next, add the flavor enhancers: the 1/2 cup of grated parmesan cheese for a salty, nutty depth, the 1 teaspoon of garlic powder for a savory punch, and the 1 teaspoon of Italian seasoning for that classic pizza herb profile. Don’t forget to season generously with the 1/2 teaspoon of salt and 1/2 teaspoon of black pepper to bring out all the flavors.
Now comes the messy but essential part: mixing. Use your hands to thoroughly combine all the ingredients until everything is evenly distributed. You want to ensure the eggs and seasonings are fully incorporated into the ground chicken. This step is key to achieving a cohesive crust that won’t fall apart during baking. Once mixed, spread this chicken mixture evenly onto a baking sheet lined with parchment paper. I like to use the back of a spoon or my hands to press it out into a pizza shape, about 1/4 to 1/2 inch thick. Aim for a relatively uniform thickness so that the crust bakes evenly. You can even make individual mini pizzas if you prefer!
Pre-baking the Crust
Before we can add our delicious toppings, the chicken crust needs a head start in the oven. Preheat your oven to 200 degrees Celsius (400 degrees Fahrenheit). Place the baking sheet with the raw chicken crust into the preheated oven and bake for about 15-20 minutes. The goal here is to cook the chicken through and allow it to firm up. You’ll notice it will start to lose its pink color and become more opaque. It won’t be fully cooked at this stage, but it will be sturdy enough to hold toppings without becoming soggy. Keep an eye on it to ensure the edges don’t start to brown too much.
Once the crust has pre-baked, carefully remove it from the oven. You’ll see that it’s solidified nicely. This is the perfect time to add your pizza sauce and cheese.
Adding Toppings and Final Bake
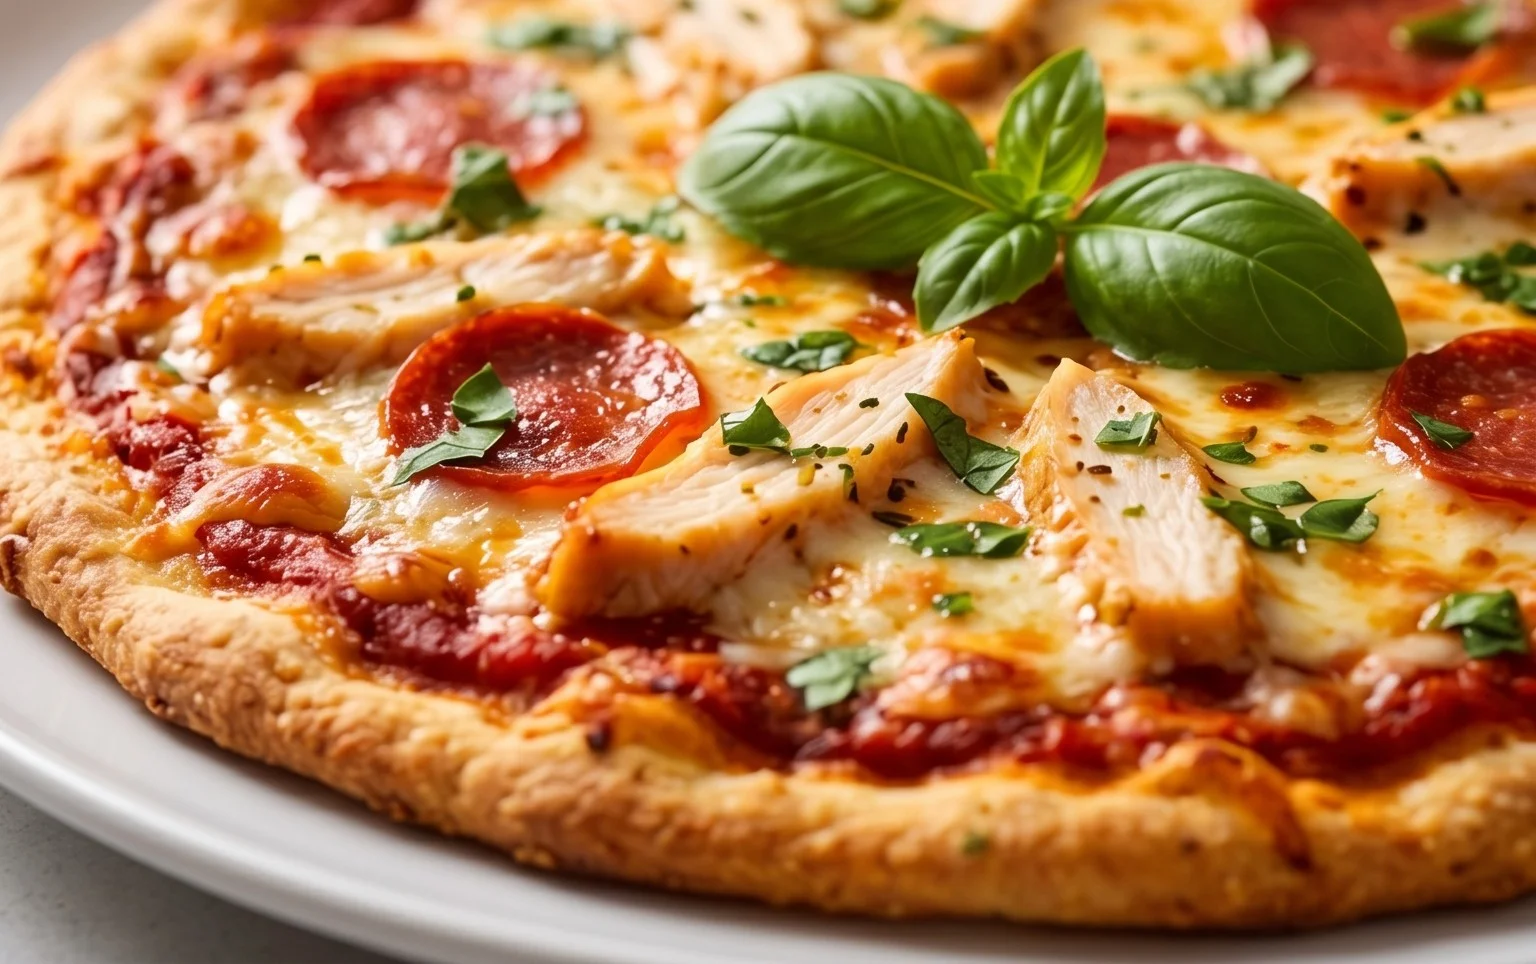
Now for the fun part – transforming your chicken crust into a pizza! Evenly spread the 1/2 cup of pizza sauce over the pre-baked chicken crust. Be sure to leave a small border around the edge, just like you would with a traditional pizza, to create a nice crust edge. Then, sprinkle the 1 cup of shredded mozzarella cheese generously over the sauce. The cheese will melt and create that irresistible gooey topping we all love. Finally, arrange your 20 beef beef pepperoni slices over the mozzarella. Feel free to add other low-carb toppings at this stage, such as sliced mushrooms, bell peppers, or onions, if you like.
Return the pizza to the oven, which should still be preheated to 200 degrees Celsius (400 degrees Fahrenheit). Bake for another 10-15 minutes, or until the mozzarella cheese is melted, bubbly, and slightly golden brown, and the beef pepperoni is crispy. The exact time will depend on your oven and how many toppings you’ve added. The key is to achieve that perfect cheesy, bubbly finish.
Serving Your Masterpiece
Once your chicken crust pizza is golden and delicious, carefully remove it from the oven. Let it cool for a few minutes before slicing. This allows the cheese to set slightly and makes it easier to cut. I find using a pizza cutter or a sharp knife works best. Serve immediately and enjoy every single low-carb, high-protein bite! This recipe is not only incredibly satisfying but also a fantastic way to sneak in extra protein and cut down on carbs without sacrificing flavor. It’s a win-win in my book, and I hope it becomes a favorite in your kitchen too.
Conclusion:
So there you have it – your guide to creating a delicious and incredibly satisfying Chicken Crust Pizza! This recipe is a game-changer for anyone looking to enjoy their favorite comfort food without the carb overload. The beauty of this chicken crust pizza lies in its simplicity, its impressive protein boost from the chicken, and its low-carb nature, making it a fantastic option for keto, pnon-alcoholic aleo, or anyone aiming for a healthier lifestyle. It’s surprisingly easy to make, even for begin extractners, and the taste is truly remarkable. You’ll forget all about traditional dough!
Feel free to get creative with your toppings! Classic beef pepperoni and mozzarella are always winners, but don’t be afraid to experiment with grilled vegetables, sautéed mushrooms, or even a drizzle of hot sauce for a kick. Serve it up hot and fresh as a weeknight dinner, a weekend treat, or even as an impressive appetizer for guests. I truly encourage you to give this low carb + high protein chicken crust pizza a try; you won’t be disappointed!
Frequently Asked Questions:
Can I use pre-cooked chicken for this recipe?
Absolutely! Using pre-cooked shredded chicken, like rotisserie chicken, can save you even more time. Just ensure it’s well-drained to avoid a soggy crust.
What kind of cheese works best for binding the chicken crust?
A combination of shredded mozzarella and a binder like egg works wonderfully. Parmesan cheese can also be added for extra flavor and help with browning and crisping.
Is this recipe suitable for meal prep?
Yes, this chicken crust pizza is excellent for meal prep! You can prepare the crusts ahead of time, store them in the refrigerator, and then add toppings and bake when you’re ready for a quick and healthy meal.
Chicken Crust Pizza (Low Carb + High Protein)
A delicious and healthy low-carb, high-protein pizza with a savory chicken crust.
Ingredients
-
450 g ground chicken
-
2 large eggs
-
1/2 cup parmesan cheese
-
1 tsp garlic powder
-
1 tsp italian seasoning
-
1/2 tsp salt
-
1/2 tsp black pepper
-
1/2 cup pizza sauce
-
1 cup mozzarella cheese
-
20 beef pepperoni slices
Instructions
-
Step 1
Preheat your oven to 400°F (200°C). Line a baking sheet with parchment paper. -
Step 2
In a bowl, combine the ground chicken, eggs, parmesan cheese, garlic powder, Italian seasoning, salt, and pepper. Mix until well combined. -
Step 3
Spread the chicken mixture evenly onto the prepared baking sheet to form a pizza crust shape, about 1/4 inch thick. -
Step 4
Bake the chicken crust for 10-12 minutes, or until it’s lightly browned and cooked through. -
Step 5
Remove the crust from the oven. Spread the pizza sauce evenly over the chicken crust, leaving a small border. -
Step 6
Sprinkle the mozzarella cheese over the sauce, then arrange the beef pepperoni slices on top. -
Step 7
Return the pizza to the oven and bake for another 8-10 minutes, or until the cheese is melted and bubbly and the pepperoni is slightly crisped. -
Step 8
Let the pizza cool for a few minutes before slicing and serving.
Important Information
Nutrition Facts (Per Serving)
It is important to consider this information as approximate and not to use it as definitive health advice.
Allergy Information
Please check ingredients for potential allergens and consult a health professional if in doubt.